
How Clones Really Work in Meccha Chameleon — Complete Decoy Guide & Tactics
Complete guide to Meccha Chameleon clone mechanics. How decoys work, when to use them, advanced bait tactics, and the critical rule that can get you eliminated.
- •Max 2 clones, 30s cooldown. If a hunter shoots your clone, YOU die too
- •Place clones far from your hiding spot — use them as decoys, not shields
- •On small maps (Osaka), never use clones — the risk isn't worth it
What Are Clones?
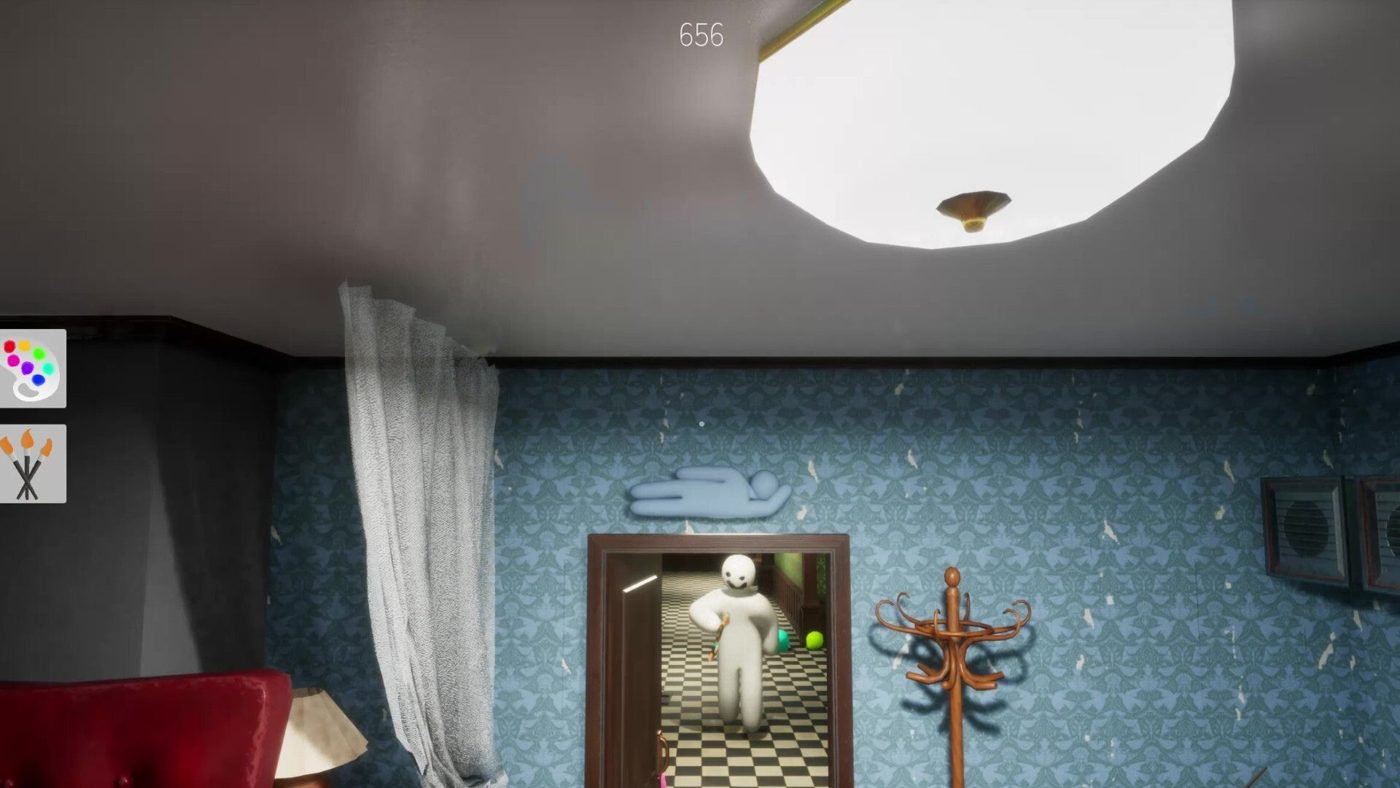
Clones are decoy copies of your character that you can place anywhere on the map. They look identical to your painted self and serve as distractions for seekers. You can place up to 2 clones with a 30-second cooldown between placements.
The critical rule most players miss: If a seeker shoots your clone, you are eliminated too. Clones are not safe decoys, they're high-risk, high-reward tools.
How to Use Clones
| Action | Key | |--------|-----| | Place a clone at your current position | Q | | Remove all active clones | X |
When you press Q, a clone spawns exactly where you're standing with your current paint job. The clone remains frozen in place. You can have up to 2 clones active at once.
When Clones Are Useful
1. Distraction Decoy
Place a clone in an obvious (but not too obvious) position. Seekers see "a player," shoot it, and think they got an elimination, but they revealed their position and wasted ammo while you hide safely elsewhere.
Wait, doesn't shooting a clone kill you? Yes! But not if you placed the clone far from your actual hiding spot. The key is distance.
2. The "Stand Inside Your Clone" Trick
You can position yourself inside your own clone without triggering any visual warning. From the outside, a seeker sees one chameleon. They shoot, you die. But if the clone is painted differently? The seeker might not recognize it as you, buying you a precious second to reposition.
3. Bait and Ambush (Infection Mode Only)
In Infection mode, place a clone in a visible spot, then hide nearby. When a hunter shoots the clone (eliminating you), you respawn as a hunter, but now you're right behind the hunter who shot your clone. Immediate revenge.
4. Floating Clones (Ceiling Trick)
Clones ignore gravity. You can place a clone that floats in mid-air. This is useful because:
- Seekers rarely look for players floating in open space
- A floating clone on the ceiling looks like a decoration
- The non-gravity behavior is so unnatural that seekers dismiss it as a map glitch
When Clones Will Get You Killed
| Mistake | Consequence | |---------|------------| | Placing a clone right next to your hiding spot | Seeker shoots clone → you die too | | Using clones on small maps (Osaka) | Limited space makes it easy for seekers to find both you and the clone | | Leaving clones in obvious spots | Every seeker knows the "floating decoy" meta, they'll shoot it just to be safe | | Forgetting you placed clones | You might move to a new spot, but your old clone is still there giving away your general area | | Placing clones during the hunt phase | The placement animation is visible and gives away your position |
Advanced Clone Tactics
The Mirror Match
Paint yourself and your clone identically, then place the clone against a patterned wall. Hide on the same wall 10 meters away with the same paint job. A seeker who finds the clone will check that wall carefully, but they may stop after finding "one" chameleon and miss you entirely.
The Double Bait
Place two clones in different corners of the same room. Hide in the center, completely still. Seekers will check the corners first (everyone does). While they're dealing with your clones, they're not looking at the center of the room, where you are.
The Ghost Clone
On dark maps like Sewer, place a clone in a completely dark corner where seekers can barely see. Even if they spot it, they'll waste time and ammo approaching and shooting it, time you can use to reposition (in modes that allow movement).
Clone vs. No-Clone: When to Use Each
| Situation | Recommendation | |-----------|---------------| | Large map, you know a good solo spot | Skip clones. They add risk without benefit. | | Medium map, you want to confuse seekers | Place 1 clone far from your spot. | | Small map (Osaka) | Never use clones. Too risky. | | You're the last hider alive | Remove all clones with X. Don't give seekers free eliminations. | | Playing with randoms who die fast | Use clones as bait to buy time. | | Infection mode | Clones are valuable for the respawn ambush tactic. |
Related Guides
Bottom Line
Clones are not a "free extra life" or a "free decoy." They are a calculated risk. Use them when the map is large enough to create real distance between you and your decoys. On small maps, or when you're the last hider, remove them immediately with X.
This guide was compiled from multiple public sources. We cross-reference with 3+ sources before publishing.
More Meccha Chameleon Guides
Meccha Chameleon July Patch Roundup — New Mode, Osaka Rework & Hunter Ammo Limits
Every Meccha Chameleon update in July 2026. Reverse Chicken Race mode, hunter bullet limits, Osaka map rework, new rotation mechanics, and the upcoming collaboration map.
Meccha Chameleon vs Among Us vs Prop Hunt — Which Hide & Seek Game Is Best in 2026?
Complete comparison of the top 3 hide-and-seek multiplayer games in 2026. Meccha Chameleon vs Among Us vs Prop Hunt — gameplay, skill ceiling, price, player count, and which one is right for your group.
12 Best Party Games on Steam Under $10 in 2026 — Multiplayer Games Worth Every Penny
The best cheap multiplayer party games on Steam in 2026. From Meccha Chameleon to Among Us, every game under $10 with active player bases and proven fun factor.