
AC Black Flag Resynced Fort Capture Guide: Conquer Every Fortress
How to capture all 11 naval forts in Black Flag Resynced. Strategy for each fort, upgrade requirements, and the best approach angles to minimize damage.
- •Never attack a fort without Mortars unlocked. Forts outrange your broadside cannons by 2x.
- •Each fort capture unlocks a new section of the map. The southern forts are the hardest — do them last.
- •After capturing a fort, the harbor master gives you a permanent discount on all goods in that region.
- •Bring full crew health for the boarding phase. If too many crew die, the fort re-garrisons and you start over.
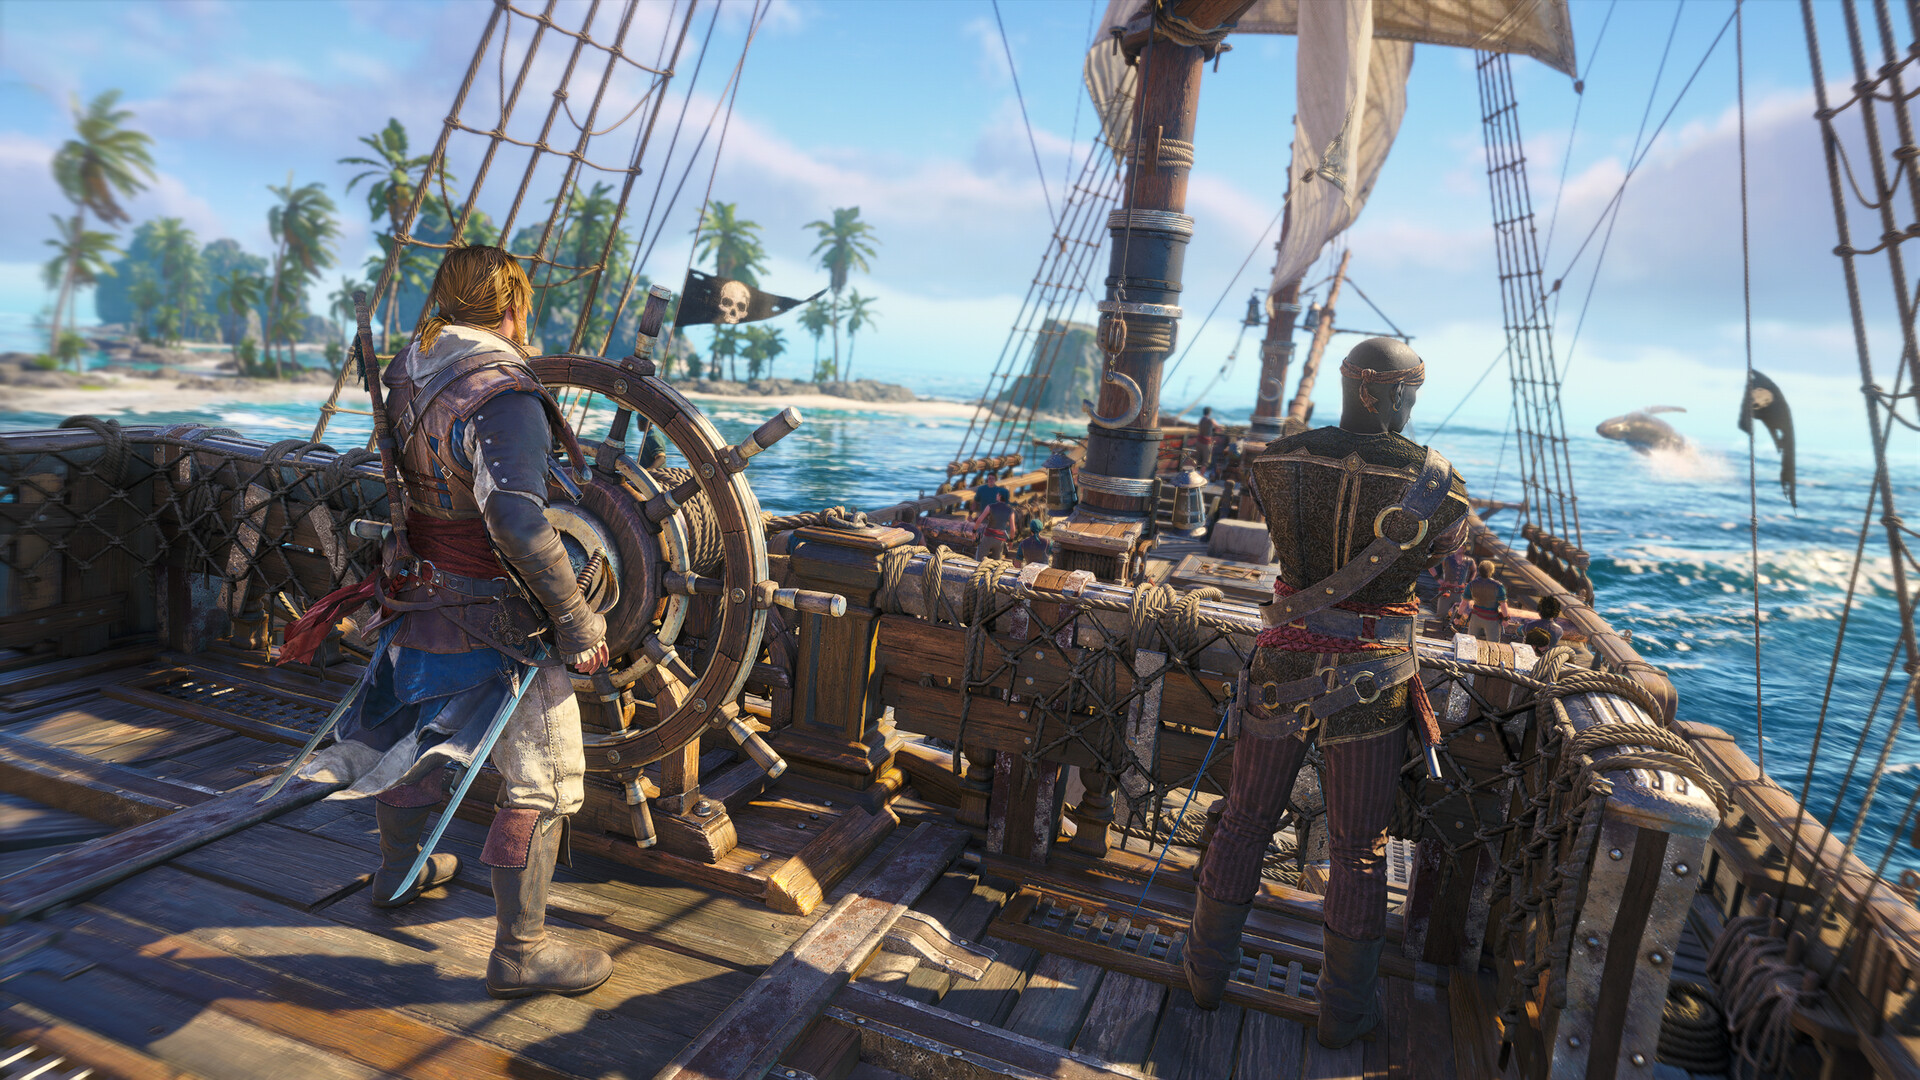
There are 11 naval forts scattered across the Caribbean map. Each one is a tough fight, but capturing them unlocks fast travel points, discounts at local shops, and reveals all collectibles in the region. Here is how to take every single one without wasting hours on failed attempts.
Before You Attack Any Fort
Minimum ship upgrades:
| Upgrade | Minimum Level | Reason | |---------|:---:|--------| | Hull Armor | 3 | Fort mortars 2-shot a Level 2 hull | | Broadside Cannons | 3 | You need to kill defending ships fast | | Mortars | Unlocked | Your only weapon that outranges the fort | | Heavy Shot | 2 | Pierces the fort's damage reduction | | Crew Capacity | Any | More crew = faster boarding phase | | Fire Barrels | Unlocked | Useful for the southern forts' chokepoints |
If your Jackdaw is below these requirements, take on the easiest fort first (San Juan, in the northwest) to see how the mechanics work, then come back after upgrading.
The Fort Assault Formula (Works on All 11)
Every fort follows the same battle flow. Master this sequence and you clear any fort in under 5 minutes:
Phase 1: Mortar Barrage
Stay at the edge of your mortar range. The fort's mortars have spread at long range — keep moving side to side and their shots will miss. Fire 4-6 mortar volleys. Each direct hit does 8-10% of the fort's health.
Phase 2: Ship Waves
At ~60-70% fort health, 2-3 ships spawn as reinforcements. Ignore the fort and sink or board these ships immediately. Boarding gives you free repairs — this is often the difference between winning and dying.
Phase 3: Close the Distance
Once the reinforcement ships are dead, sail in fast. Use broadsides at medium range (you can tank the fort's remaining mortars with Hull 3). Switch to heavy shot if available.
Phase 4: Board the Fort
At 0% health, the fort stops shooting and you must land a boarding party. The on-foot combat section has 2-3 waves of enemies. Kill the fort commander (marked with a gold icon) to end the fight. Air assassinate him from the watchtower for an instant kill.
Fort-by-Fort Difficulty Rankings
Easy (do these first):
- San Juan (NW) — weakest mortars, only 2 reinforcement ships
- Havana (NW) — tutorial fort, the game expects you to capture this one early
- Nassau (Central) — weak mortars, but 3 reinforcement waves
Medium:
- Punta Guarico — mortar spread is tight, must dodge actively
- Dry Tortuga — surrounded by shallow water, limits your movement
- Cabo de Cruz — 4 reinforcement ships, the most of any fort
- Castillo de Jagua — heavy fog reduces visibility
Hard (do these last, fully upgraded):
- Serranilla — 2 Man O' War reinforcements, strongest hull in the game
- Navassa — chokepoint approach, fire barrels are mandatory here
- Principe — 5 reinforcement waves, marathon fight
- Chinchorro (South) — most aggressive mortar pattern, tightest movement space
Emergency Maneuvers
"I am being killed by mortars" → Sail directly toward the fort at full speed. Mortars are programmed for long-range bombardment. The closer you are, the worse their aim. Yes, this is counterintuitive. Yes, it works.
"Too many ships, I cannot breathe" → Sail behind the fort. The fort's walls physically block the reinforcement ships' cannon fire. Use this cover to repair (brace) and pick off one ship at a time.
"My crew died during the boarding phase" → Fast travel away and return. The fort's health stays at 0%, but your crew resets to full. Cheesy but effective if you are desperate.
What You Get for Each Fort
| Reward | Effect | |--------|--------| | Map reveal | All collectibles in the region become visible | | Harbor master | Opens a shop at the fort dock | | 20% discount | Permanent discount at that region's harbor master | | Fast travel point | Instant travel to the fort from anywhere | | Faction control | Reduces hostile ship spawns in that region |
Capture all 11 and you unlock the "Devil of the Caribbean" achievement.
Related Guides
Sources
This guide was compiled from multiple public sources. We cross-reference with 3+ sources before publishing.
More Assassin's Creed Black Flag Resynced Guides
AC Black Flag Resynced Assassin Contracts Guide: All 15 Missions & Rewards
How to complete every Assassin Contract in Black Flag Resynced. Pigeon coop locations, contract types, naval vs. assassination contracts, and the best order to complete them.
AC Black Flag Resynced Characters Guide: Every Major Character in the Story
Complete character guide for Assassin's Creed Black Flag Resynced. Edward Kenway, Blackbeard, Mary Read, Adewale, and all major Templars and pirates with their roles and historical context.
AC Black Flag Resynced Crafting & Upgrades: Complete Material Guide
Every crafting recipe in Black Flag Resynced. Where to farm ocelot pelts, whale skin, jaguar pelts, and all rare materials. Upgrade priority order for maximum combat effectiveness.