
AC Black Flag Resynced Diving Bell Locations: All Underwater Treasure & Blueprints
Every diving bell location in Black Flag Resynced. Underwater treasure chests, elite ship blueprints, and how to survive shark encounters in the diving sections.
- •There are 7 diving bell locations. Each one unlocks a new elite ship upgrade blueprint; do them all.
- •Sharks cannot be killed. Hide in seaweed patches to break their line of sight. Do not try to fight them.
- •The Blue Hole (location 6) is the hardest diving section. Bring full oxygen upgrades or you will drown.
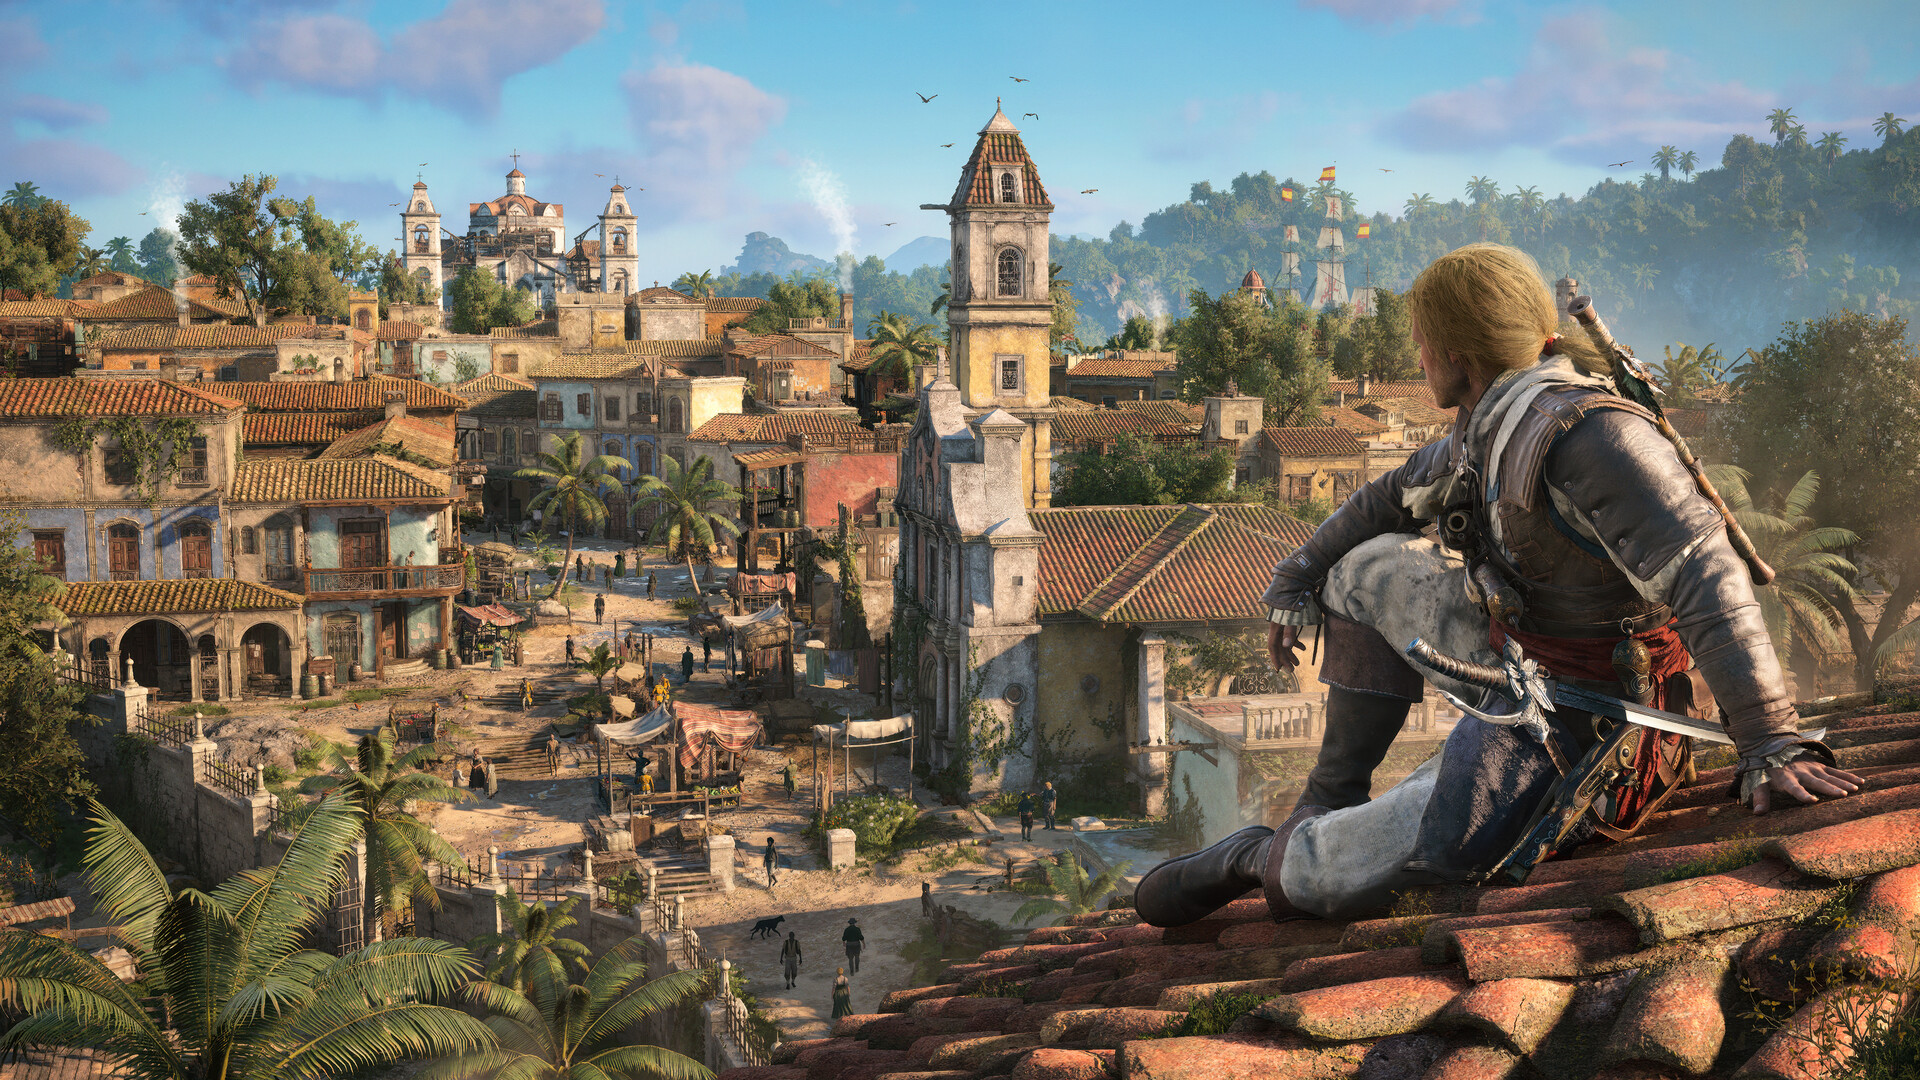
The diving bell is unlocked after Sequence 5. It lets you explore underwater wreck sites filled with treasure, collectible animus fragments, and; most importantly; elite ship upgrade blueprints. These blueprints cannot be obtained any other way. If you want the fully upgraded Jackdaw, you must complete every diving bell location.
How Diving Works
When you approach a diving bell icon on the map (a bell symbol over water), dock the Jackdaw nearby and press the interact button. Edward descends in the diving bell and swims through underwater ruins.
Oxygen management: Your oxygen bar depletes constantly. Air pockets (bubbles rising from cracks in the sea floor) refill it. Plan your route between air pockets; never swim in a straight line if a detour leads to an air pocket.
Sharks: Two types patrol every diving site. Hammerheads are slow and easy to dodge. Bull sharks are fast, aggressive, and will kill you in two hits. You cannot fight either type. Hide in seaweed (tall green plants on the sea floor) to break their line of sight. The shark circles for 10-15 seconds, then swims away.
Jellyfish: Glowing pink swarms that block narrow passages. They deal damage over time. Swim through quickly; do not stop inside a jellyfish swarm.
Currents: Some tunnels have strong water currents that push you backward. Swim diagonally against them (tacking like a sailboat) rather than head-on.
All 7 Diving Bell Locations
1. San Juan Wreck (NW)
Depth: Shallow | Sharks: 2 Hammerheads | Air Pockets: Plentiful
Loot: Brig Hull blueprint.
Notes: This is the tutorial diving site. Short, easy, plenty of air. Good practice for the mechanics.
2. Antocha Wreck (SW of Havana)
Depth: Medium | Sharks: 1 Hammerhead, 1 Bull | Air Pockets: Average
Loot: Frigate Hull blueprint, 2 treasure chests (3,000R each).
Notes: Your first bull shark encounter. There is a seaweed patch 10 meters from the wreck entrance; use it to dodge the bull shark. The treasure chests are behind a collapsed pillar that you must squeeze through (Edward auto-crouches in narrow gaps).
3. La Concepcion (West of Kingston)
Depth: Deep | Sharks: 3 Hammerheads | Air Pockets: Sparse
Loot: Elite Mortar blueprint, 3 chests.
Notes: The air pockets here are far apart. If your oxygen bar is not fully upgraded, bring the oxygen capacity boost from the general store (costs 2,000R) before attempting this dive. The Elite Mortar blueprint is worth it; it doubles your mortar damage.
4. Devil's Eye Cavern (South of Nassau)
Depth: Medium | Sharks: 2 Bulls | Air Pockets: Average
Loot: Elite Heavy Shot blueprint.
Notes: Two bull sharks patrol the main cavern in a figure-eight pattern. Time your movements; wait in the seaweed at the entrance until both sharks are at the far end of their patrol, then swim straight to the wreck (15 seconds at full speed). Do not stop for treasure on this run. Come back for the chests later when the sharks have reset to a different patrol pattern.
5. Kabah Ruins (SE corner)
Depth: Deep | Sharks: 1 Hammerhead, 2 Bulls | Air Pockets: Sparse
Loot: Elite Ram blueprint, 4 chests.
Notes: The Elite Ram blueprint lets you one-shot brigs. Absolutely worth the danger. The ruin is a maze of collapsed tunnels; use Eagle Vision to highlight the correct path (glowing blue markers on the walls). If you get lost, surface and try again.
6. The Blue Hole (Center-East)
Depth: Very Deep | Sharks: 3 Bulls | Air Pockets: Minimal
Loot: Elite Hull blueprint (best hull in the game), 5 chests (8,000R+ each).
Notes: This is the hardest diving section in the game. Three bull sharks patrol a single open cavern with almost no seaweed cover. The strategy:
- Dive in and immediately swim to the first air pocket (directly below the bell).
- Wait until all three sharks are on the far side of the cavern.
- Swim to the wreck in a wide arc (not a straight line; the arc keeps you behind the sharks' field of view).
- Grab the Elite Hull blueprint first (it is in the captain's quarters, the deepest room).
- Do not greed for the chests. Surface, reset oxygen, and dive again for the chests on a second run.
7. Isla de la Juventud (South)
Depth: Shallow | Sharks: 1 Bull, 1 Hammerhead | Air Pockets: Plentiful
Loot: Elite Broadside blueprint, 3 chests.
Notes: After the Blue Hole, this feels like a victory lap. Easy layout, generous air pockets. The Elite Broadside blueprint is your final offensive upgrade.
How to Upgrade Oxygen Capacity
If you find diving frustrating, upgrade your oxygen first:
- Buy the Diving Bell Oxygen Capacity I from any harbor master (2,000R); this is available from the moment you unlock the diving bell.
- Complete 3 diving locations to unlock Oxygen Capacity II (4,000R).
- Complete 5 diving locations to unlock Oxygen Capacity III (8,000R).
With all three upgrades, your oxygen bar lasts nearly twice as long as default. The Blue Hole becomes merely "hard" instead of "controller-throwing."
Related Guides
Sources
This guide was compiled from multiple public sources. We cross-reference with 3+ sources before publishing.
More Assassin's Creed Black Flag Resynced Guides
AC Black Flag Resynced Assassin Contracts Guide: All 15 Missions & Rewards
How to complete every Assassin Contract in Black Flag Resynced. Pigeon coop locations, contract types, naval vs. assassination contracts, and the best order to complete them.
AC Black Flag Resynced Characters Guide: Every Major Character in the Story
Complete character guide for Assassin's Creed Black Flag Resynced. Edward Kenway, Blackbeard, Mary Read, Adewale, and all major Templars and pirates with their roles and historical context.
AC Black Flag Resynced Crafting & Upgrades: Complete Material Guide
Every crafting recipe in Black Flag Resynced. Where to farm ocelot pelts, whale skin, jaguar pelts, and all rare materials. Upgrade priority order for maximum combat effectiveness.